MetaMask wallet review: how to create, configure, use and connect new networks!
Metamask Cryptocurrency Wallet
Wallet Token
Not availableRussian Language
AvailableApplications
Chrome, Opera, and othersKey Features
DApps|Swaps|NFT Storage|Cryptocurrency Purchase|User-friendly for DeFiMetamask provides instant access to a multitude of cryptocurrencies. The application can be installed and set up by the user within a minute, after which transactions can be initiated. The Metamask wallet allows storing and transferring tokens, working with hardware wallets, performing swaps, and setting gas prices.
The mentioned project is considered the most secure and promising. Negative reviews are only related to users' lack of information. This article aims to increase awareness and prevent user errors. Thus, using the wallet will not cause any inconvenience.
Application Installation and Supported Devices
It is important to know that the application can only be downloaded from the official website 👉 Metamask.io. The program is available only as an extension and supports the following browsers:
- Google Chrome;
- Firefox;
- Brave;
- Edge.
To install it, simply go to the "Downloads" section on the aforementioned website and select the appropriate icon.

It's worth noting that the application is available on mobile devices as well. It is recommended to open the project's official website on your mobile phone and click on the iOS or Android icon depending on your device's manufacturer. Independent search in the app store is extremely dangerous, as there is a risk of encountering a fake application and losing all funds.
Getting Started. How to Create a Wallet in Metamask?
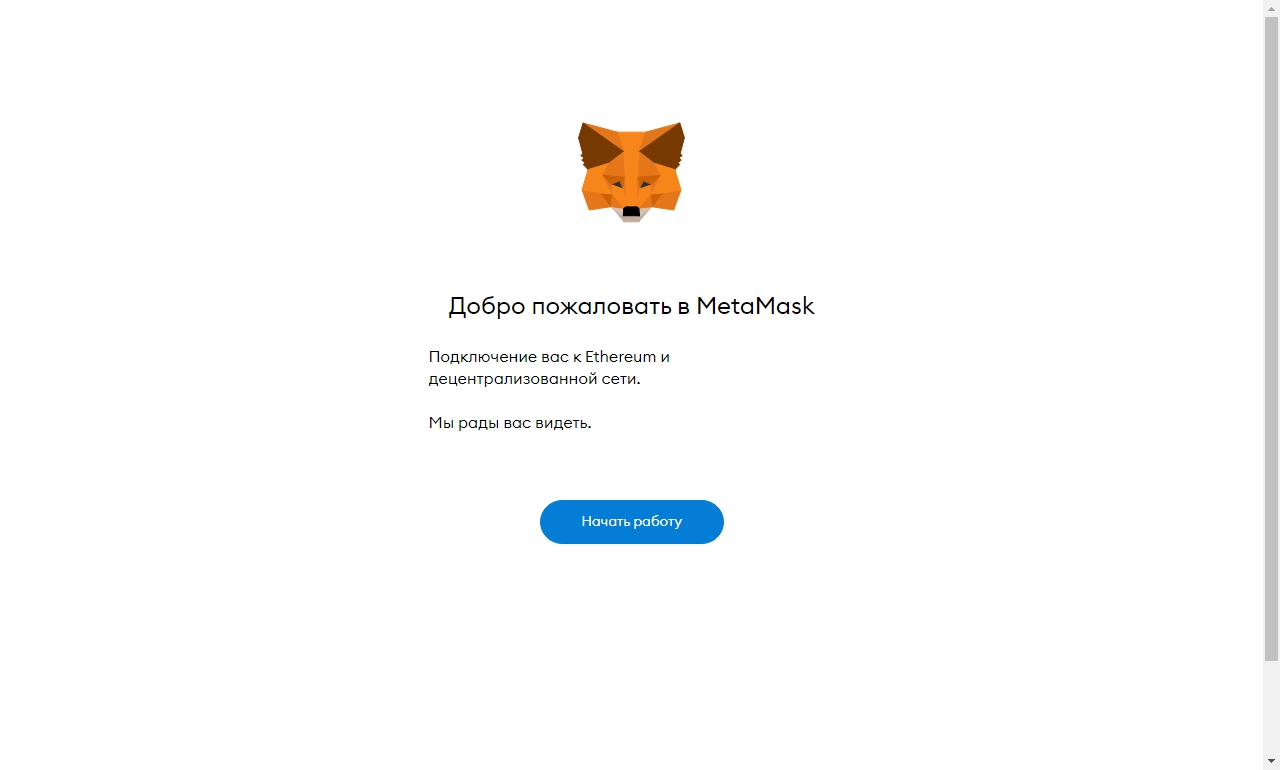
It is advisable to get acquainted with the program on a personal computer, as this format is the most user-friendly. After installing the extension, an invitation to get started will appear.
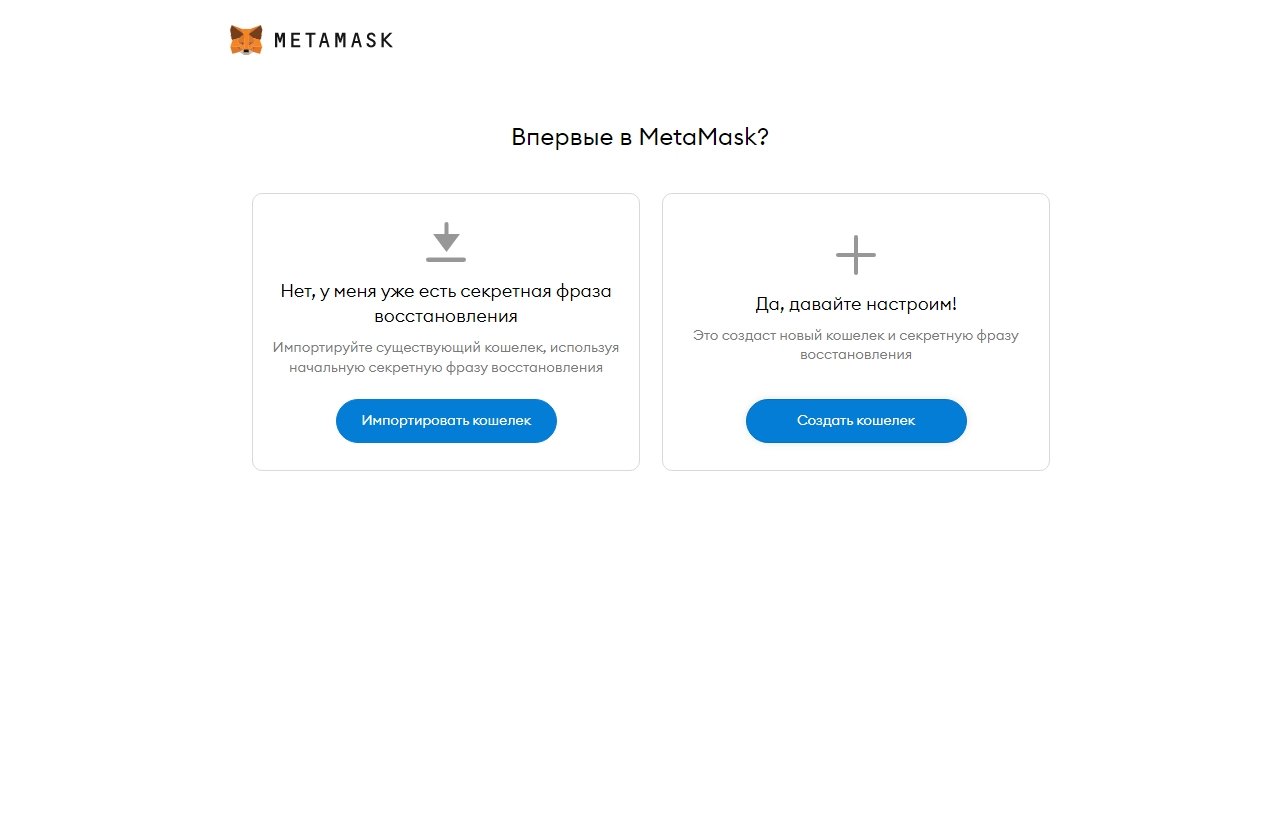
The application will offer to create a new wallet or restore an existing one. Let's choose the right icon to create a new wallet.
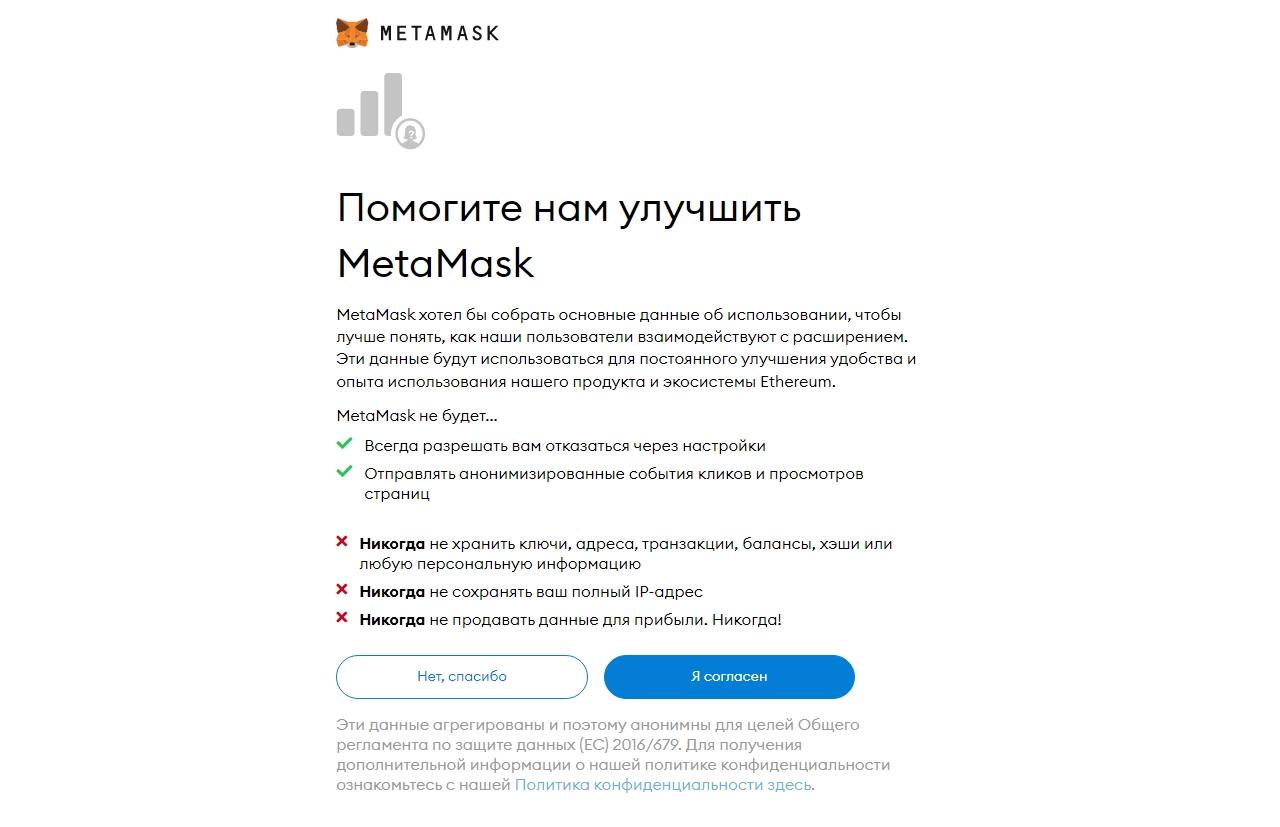
At the next stage, the project will request permission to collect information to improve its performance. The data is collected in an anonymized form, which is safe and helps the wallet become better. Allow this by clicking "I Agree."
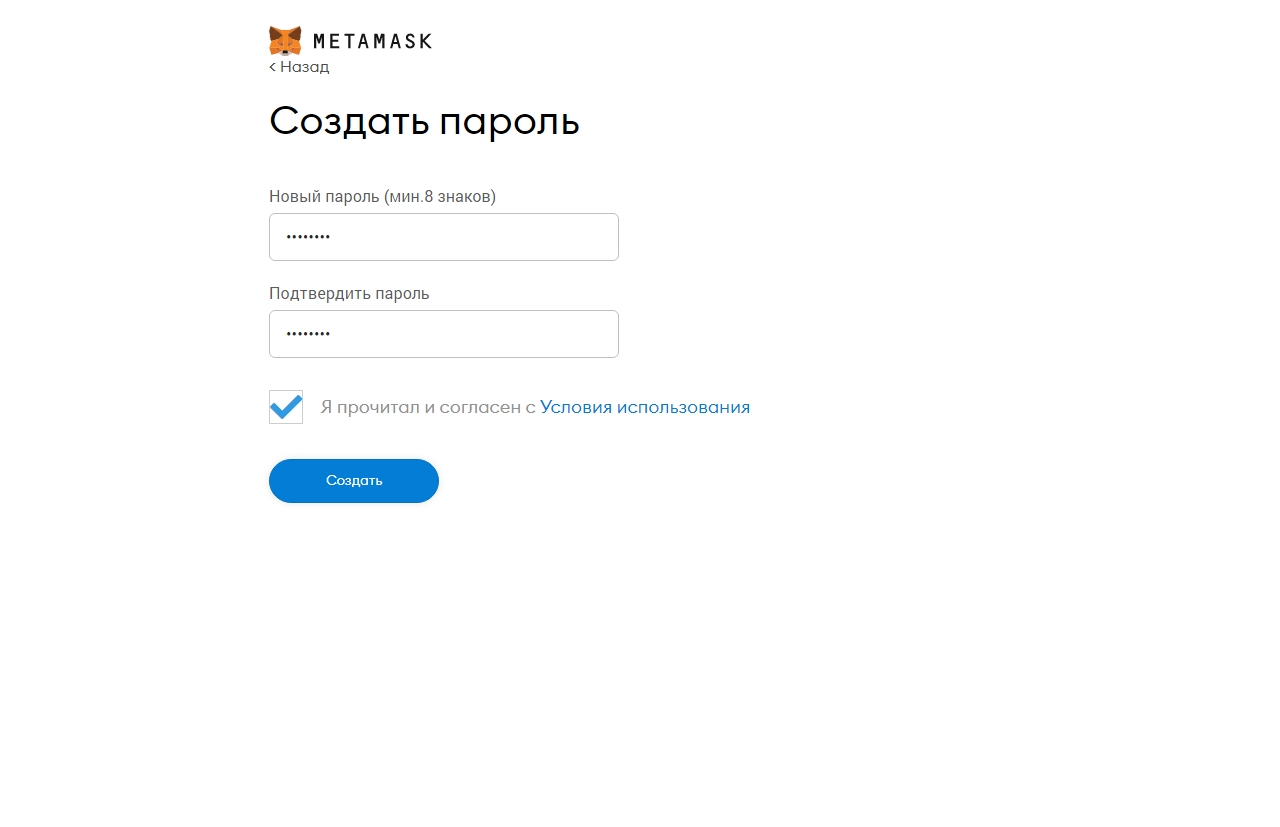
Next, enter the password, which serves as access to the application itself. Enter the same password again in the second field. Agree to the terms of use and click "Create."
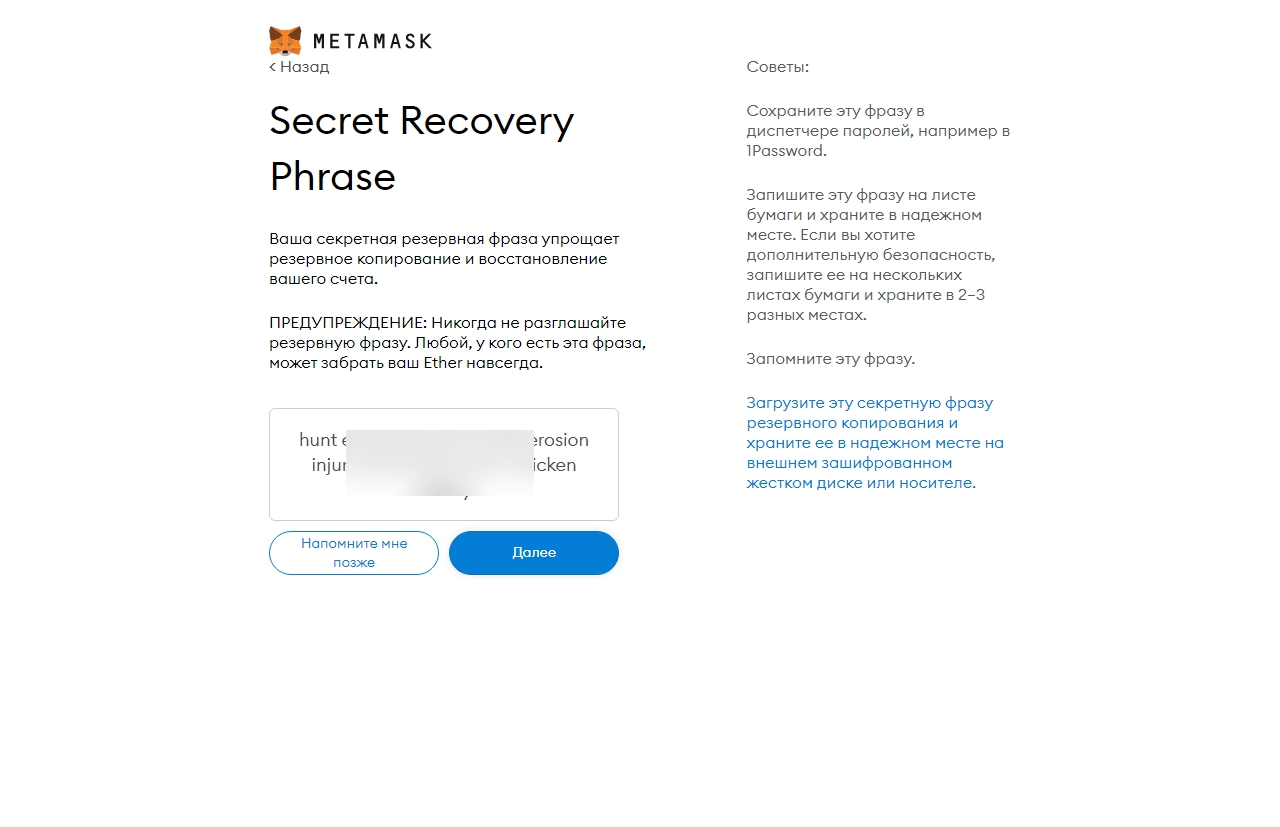
Metamask will offer to watch a short video with introductory materials. Watch it and click "Next." The next window will provide the most critical information. The mnemonic phrase consists of 12 words that allow you to access the wallet and manage cryptocurrencies. Anyone who gets hold of the phrase can use the tokens at their discretion. Under no circumstances take a screenshot of the phrase; write down all the words on a piece of paper and keep it secure. Now you can proceed to the next stage.
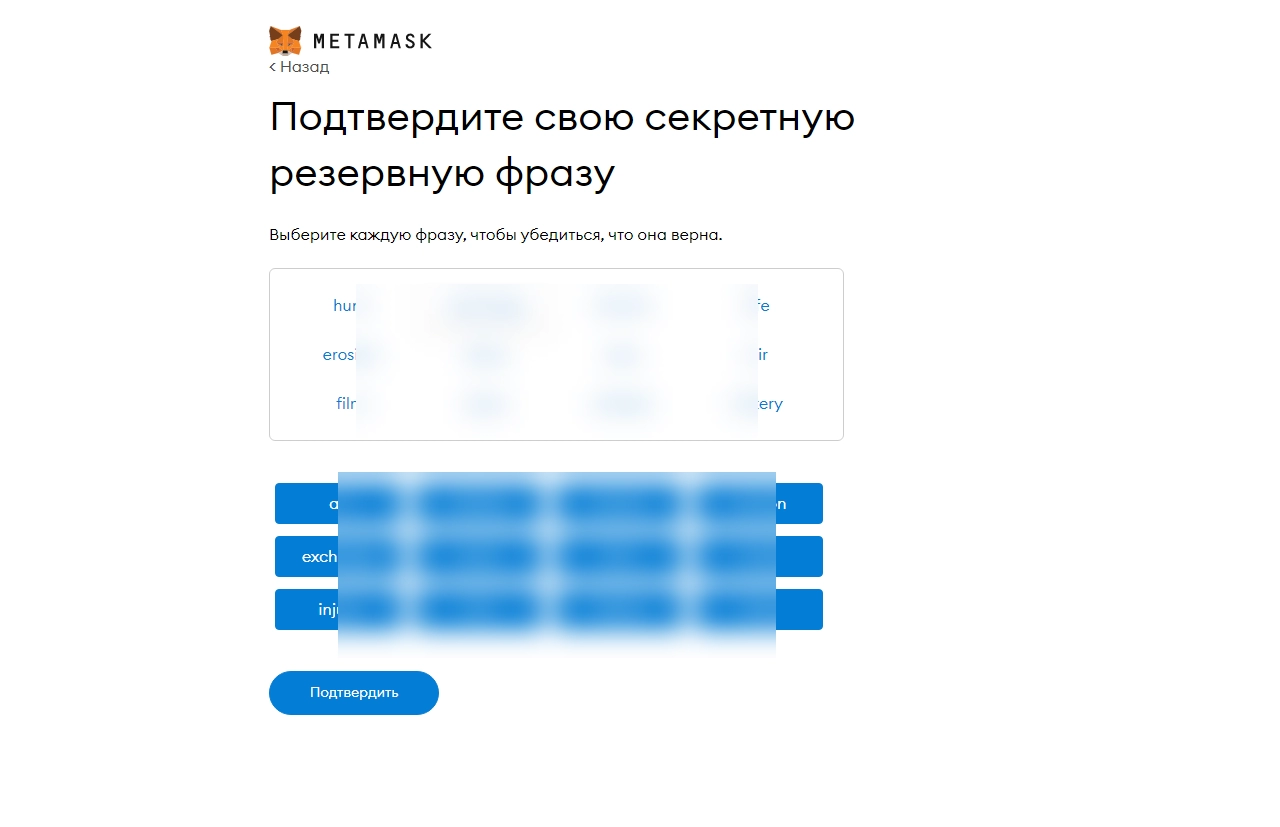
The application checks the correctness of word entries. Simply select the words in the order presented earlier. This step ensures that the user has written down the phrase correctly to avoid problems with wallet recovery in the future.
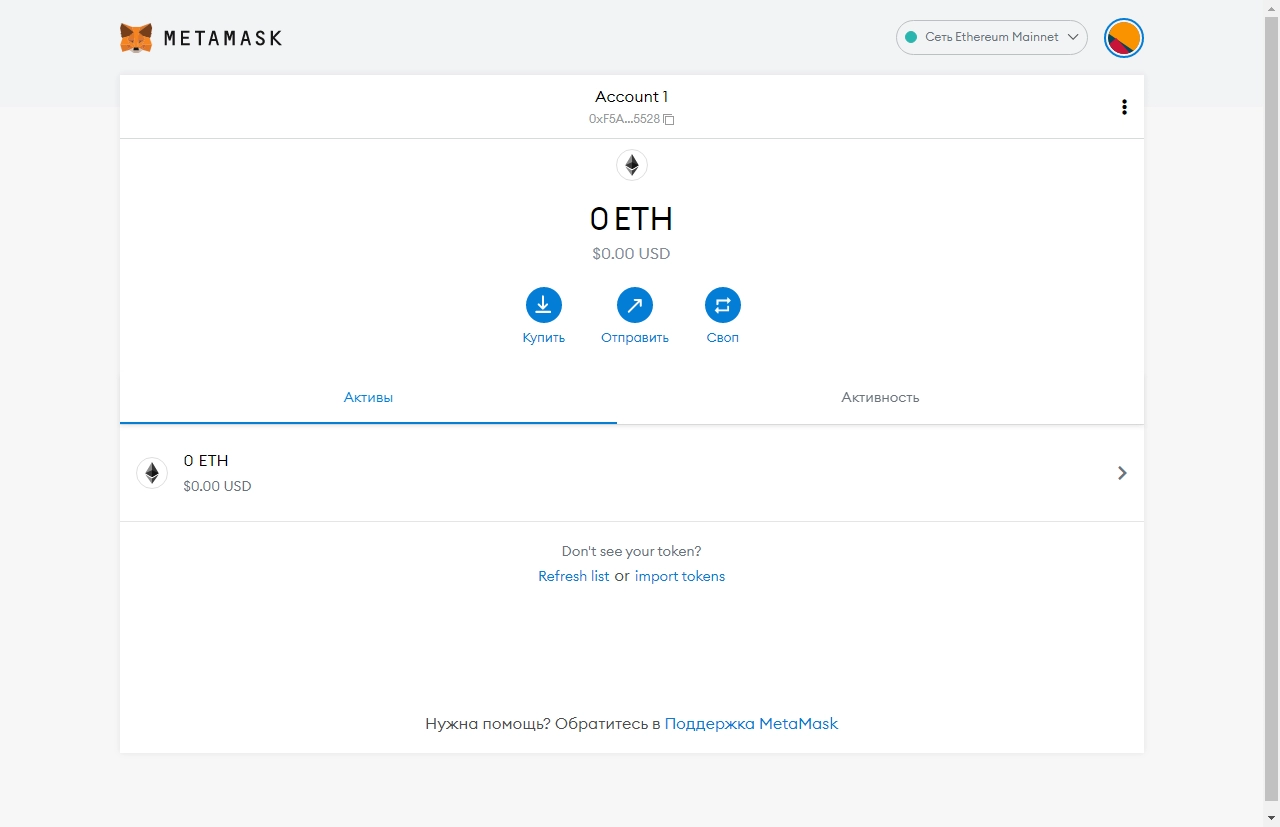
Done! Now you need to learn a few simple tips and get to work. Your wallet has been created, and the main window of the application looks like this:
Importing a Previously Created Wallet
If you already have a Metamask wallet created before, you can import it. Simply use the mnemonic phrase or private key that you have.
Click "Import Wallet" and choose the preferred method, for example, using the mnemonic phrase. Enter the required number of words and create a secure password to access the extension.
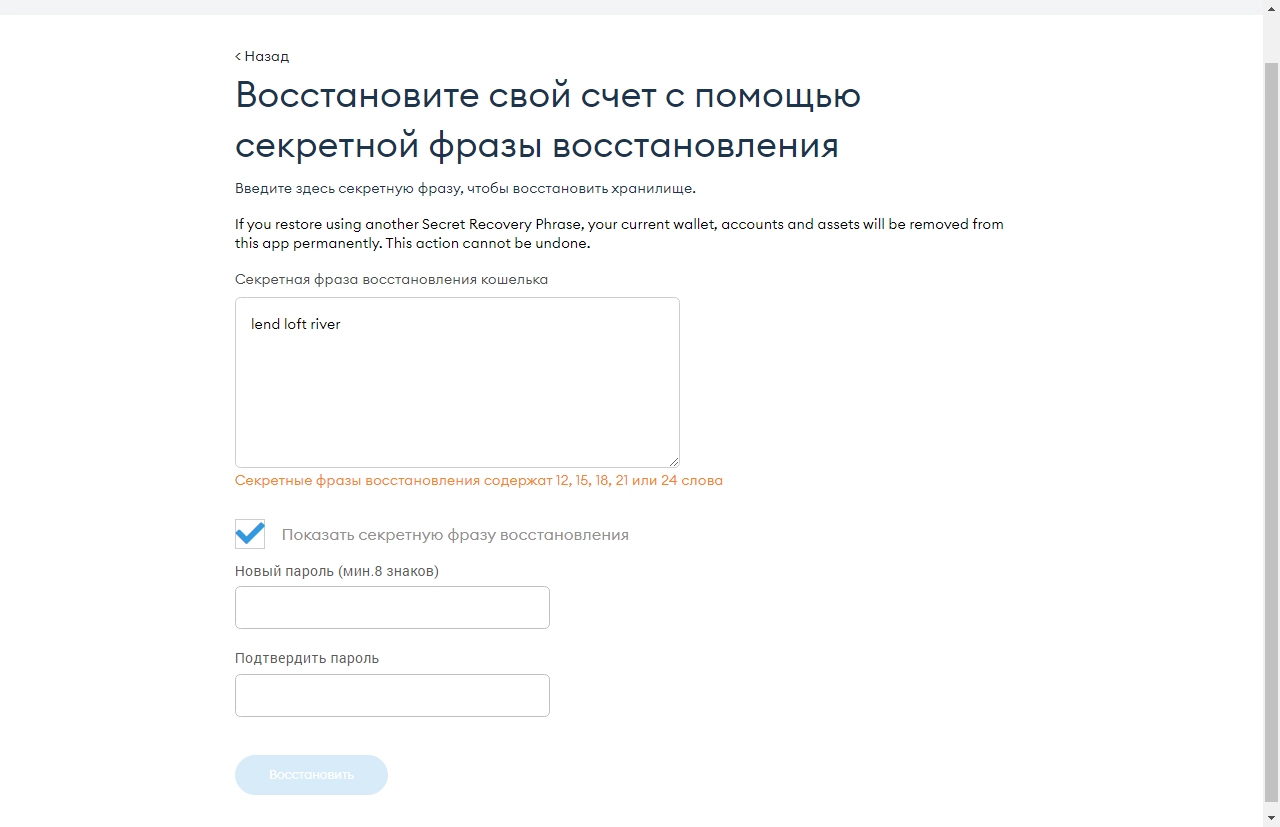
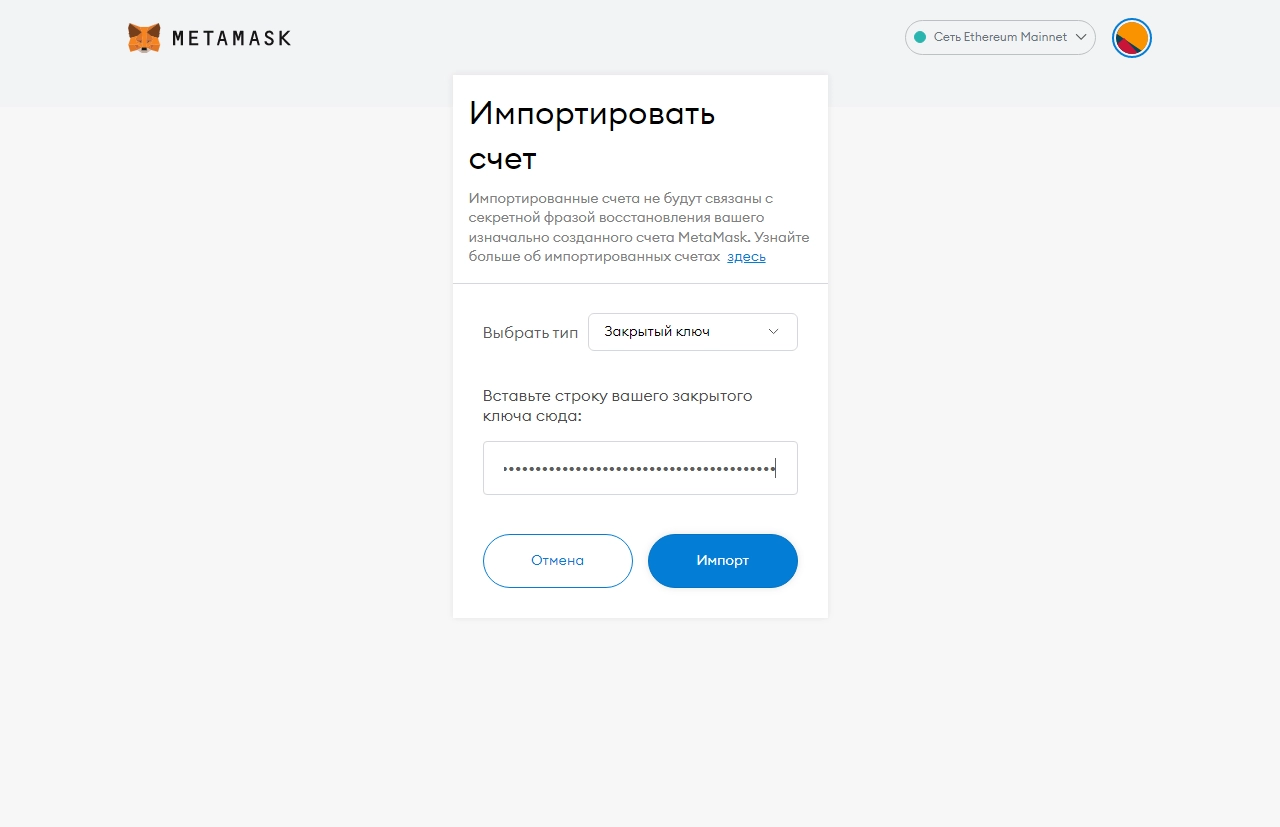
Alternatively, use the second method — entering the private key.
Your wallet is now restored, and you can start using it.
Setting Up Metamask
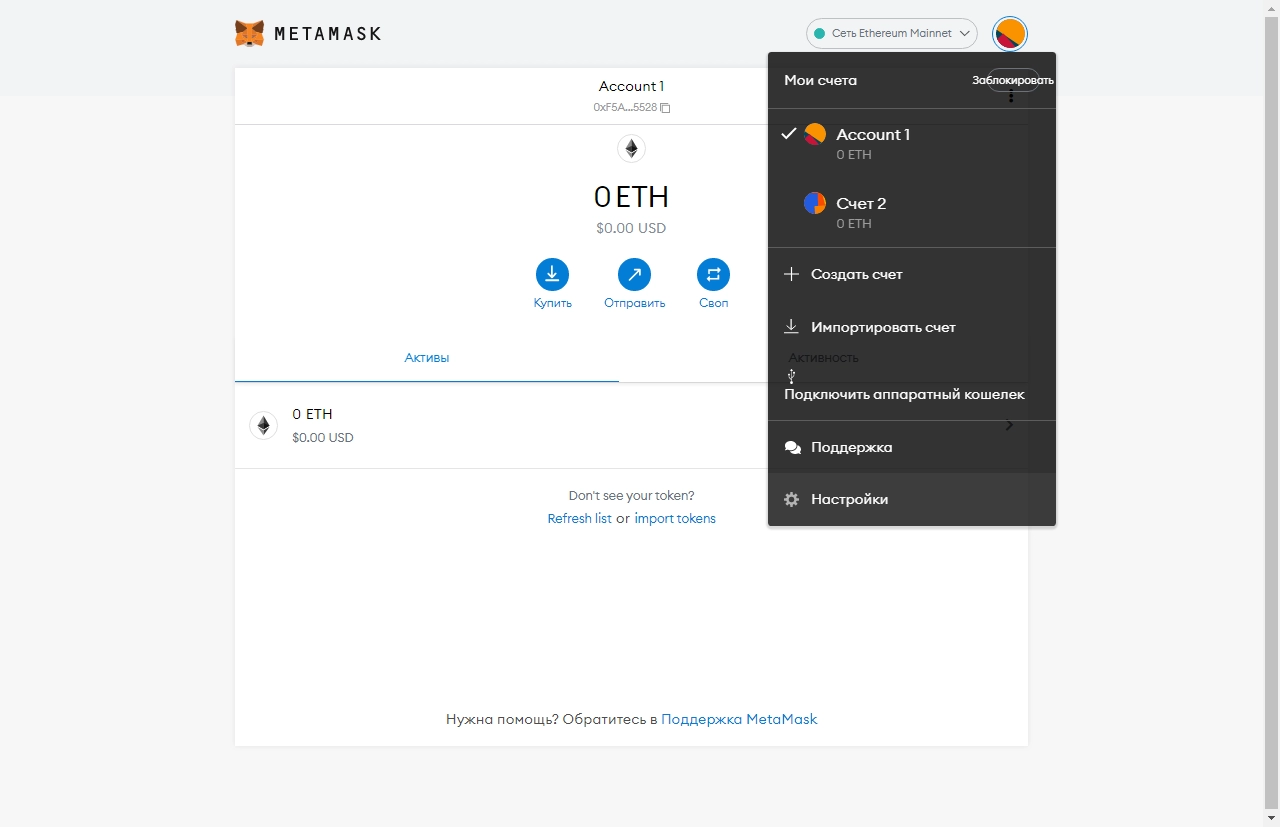
After familiarizing yourself with the application and creating a new wallet, you need to explore the settings in detail. This will ensure smooth and secure usage. To access the settings, click on your identicon (personal avatar based on unique wallet data) and then click on "Settings" in the popup window.
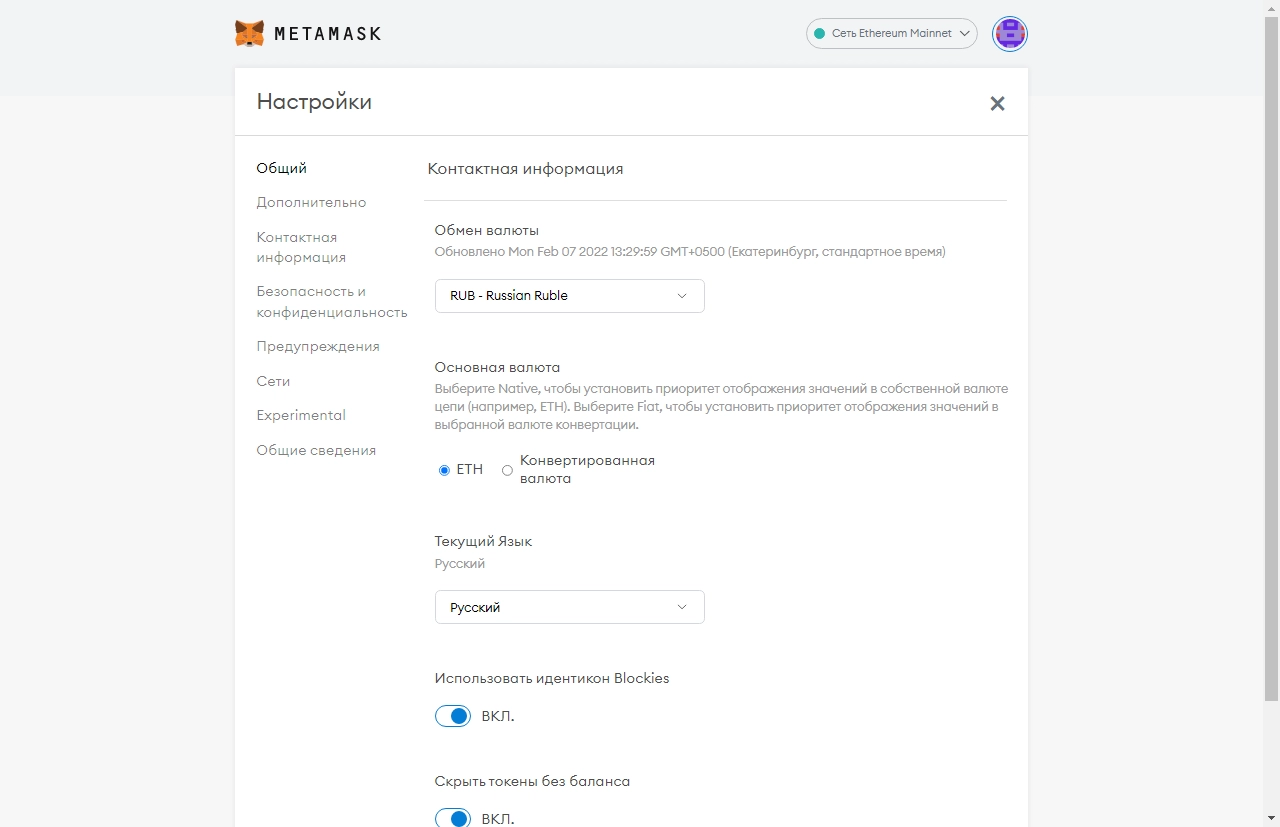
Initially, the user will be taken to the "General" tab, where five parameters are available:
- Currency exchange — for convenience, the balance is converted into the chosen currency (e.g., rubles), allowing you to see the asset value in your country's fiat currency;
- Primary currency — the balance in the main window of the wallet is displayed in a large font, indicating the most important cryptocurrency or fiat (the least important parameter will be displayed in a smaller font below);
- User interface language;
- Identicon assignment as mentioned earlier;
- Hide tokens with zero balance — coins with zero balance will not be displayed.
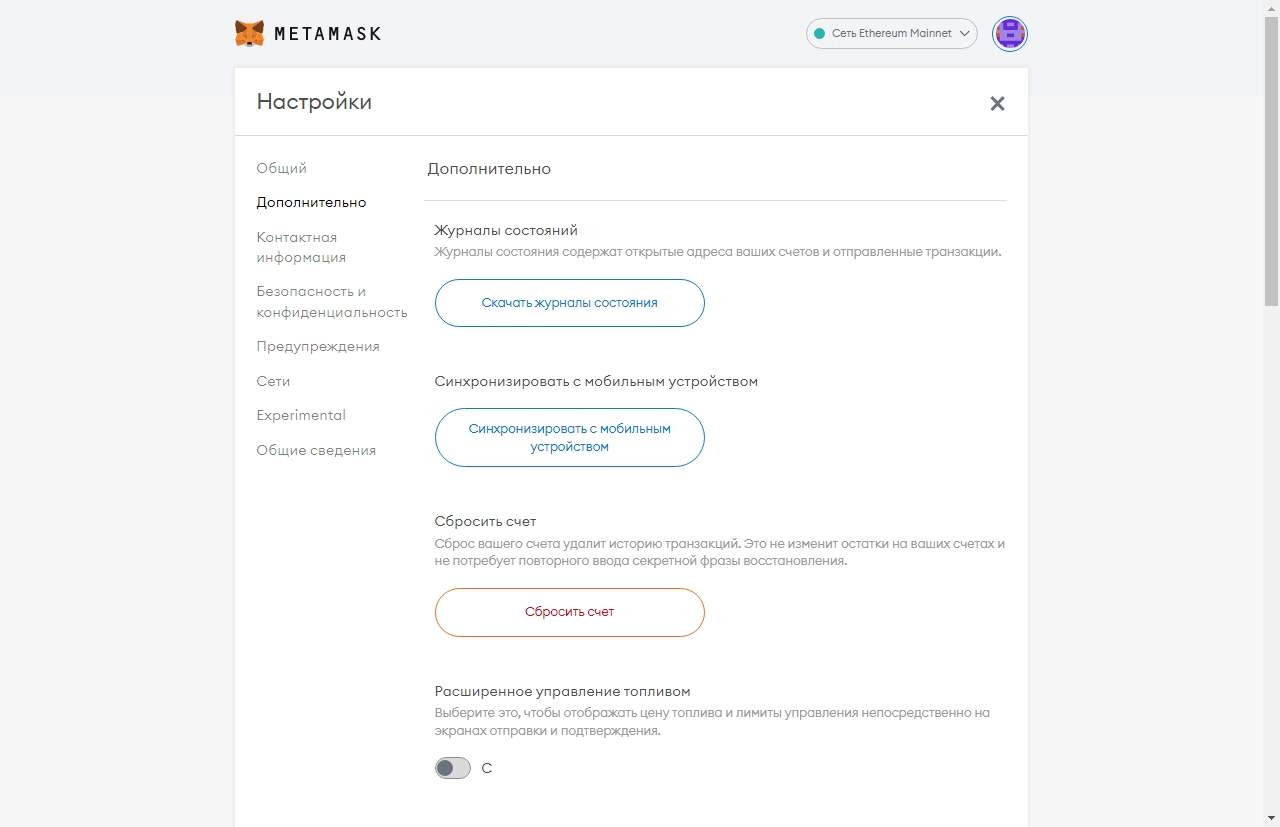
Let's examine the contents of the "Advanced" tab:
- State logs — allows you to download a configuration file with transaction history for your wallets;
- Sync with mobile device — temporarily inactive feature, alternative — download the mobile app;
- Reset Account — clears the transaction history from the application;
- Advanced gas controls — allows for manually setting the gas cost, suitable for advanced users, and helps save on transactions by adjusting their speed;
- Show Hex Data — displays the transfer amount in machine-readable format;
- Show conversion on Testnets — test network tokens have no value, but you can find out their fiat value;
- Show test networks — displays test networks in the list of available networks;
- Configure one-time transaction nonce — a feature for advanced users, enabling a field for manually entering a nonce;
- Auto-Lock Timer — time interval for password requests by the application;
- Sync with 3Box — a test feature for wallet data storage on a server;
- IPFS Gateway — URL of the gateway that accelerates communication with ENS domains;
- Preferred Ledger connection type — preferred connection type with the cold wallet Ledger;
- Dismiss the recovery phrase reminder — disables the notification about the specified event.
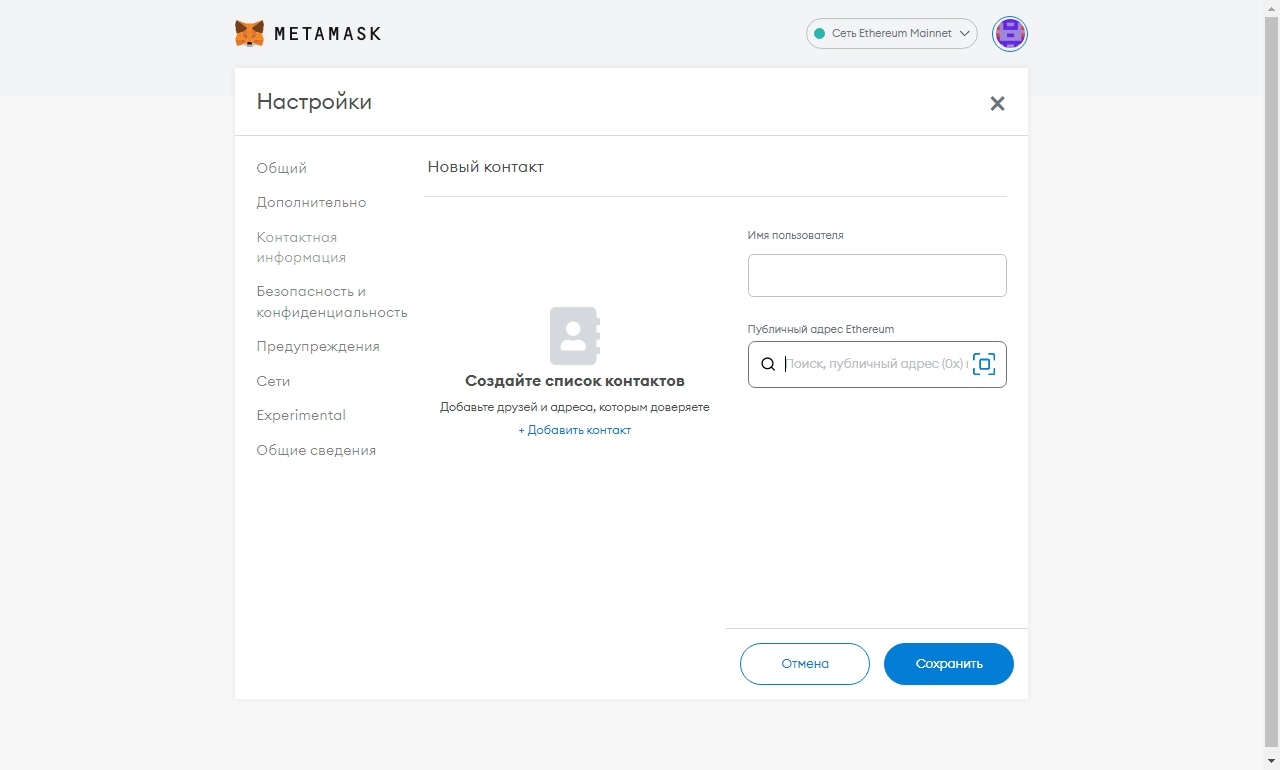
The "Contact Information" section represents the address book. Come up with a contact name and enter the public wallet address.
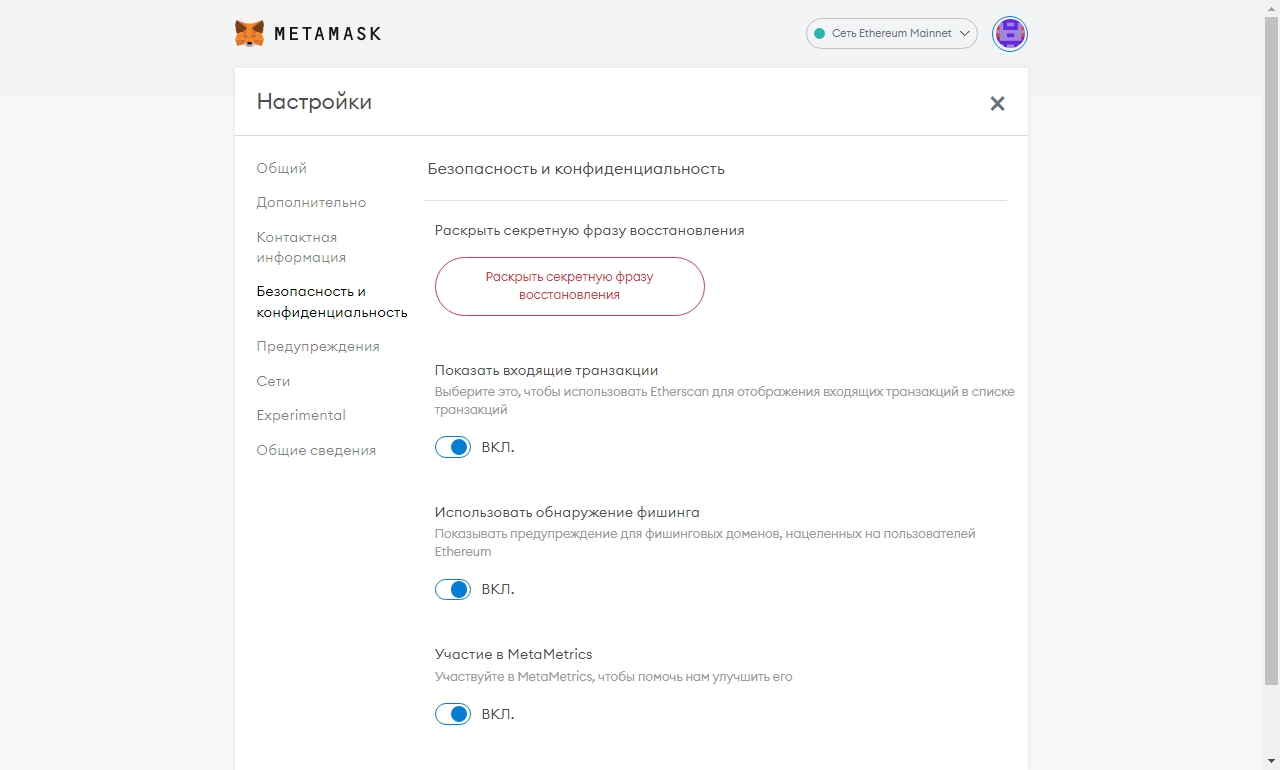
"Security and Privacy" contain the following settings:
- Reveal Seed Phrase — during an active session, you can view your mnemonic phrase, copy it, or save it in CSV format;
- Show Incoming Transactions — displays incoming transfers involving your addresses;
- Use Phishing Detection — activate this option since the extension blocks sites that pose a threat to your assets;
- Participate in MetaMetrics — provides the project with anonymous data to improve the application.
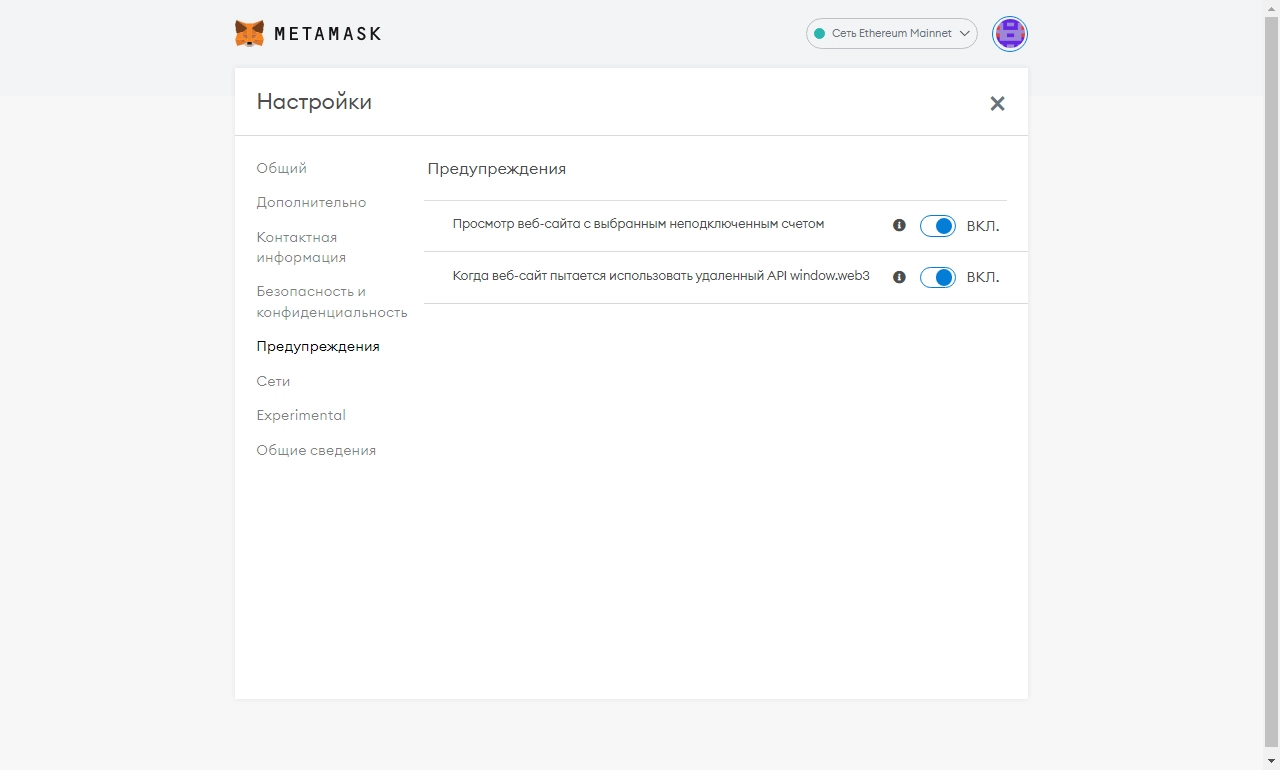
"Warnings" — a section dedicated to working with dApps:
- View website with selected account disconnected — notify about the need to switch to an active account when using the dApp browser;
- When a website tries to use the remote API window.web3 — the site cannot function due to window.web
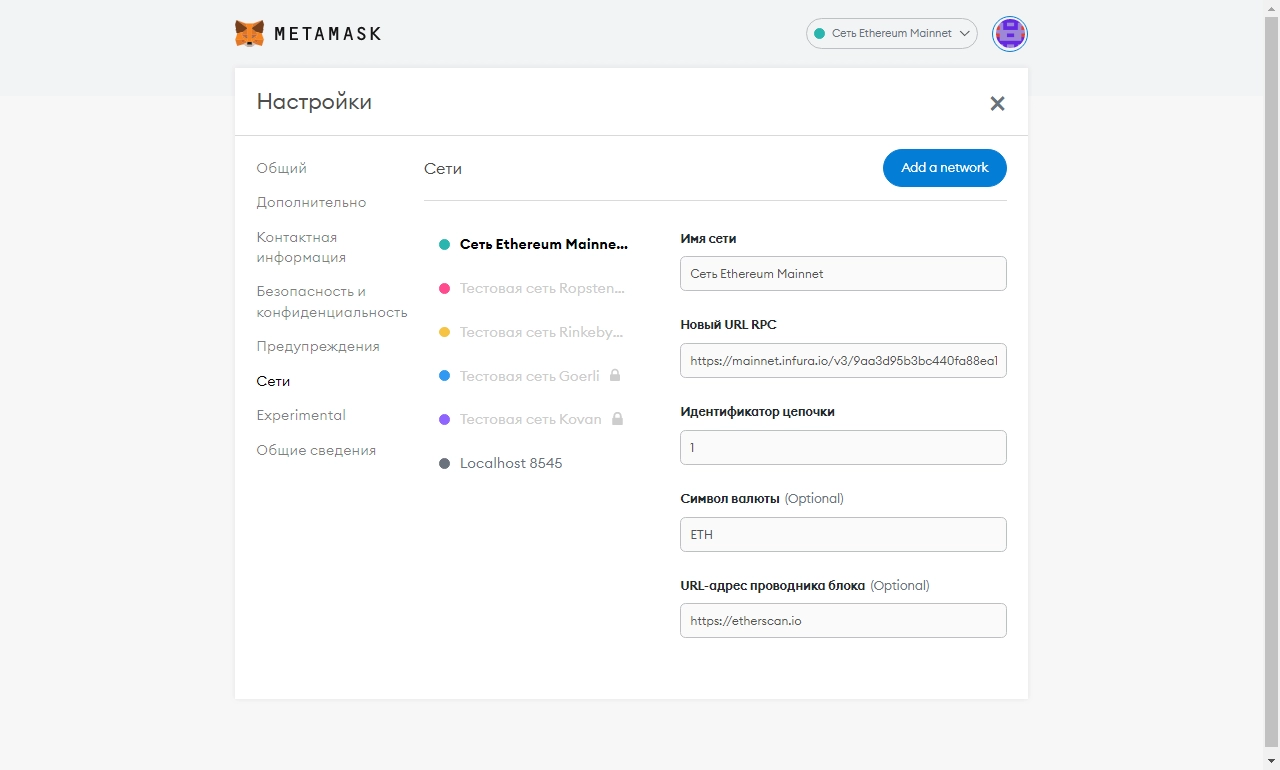
"Networks" — setting up new networks to expand the application's capabilities. Full functionality will be covered in the next section of the article.
The settings also include the "Experimental" and "About" sections. The former allows recognizing new tokens, while the latter contains information about the application and its creators.
Metamask Networks — How to Add a New Network?
Metamask supports a vast number of tokens functioning on networks of various standards. By default, the Metamask wallet is pre-configured to use Ethereum — the most popular among cryptocurrencies. You can set up a new network in just a few minutes. Go to "Settings," then to the "Networks" section. Click "Add a network."
Metamask BSC — Adding Binance Smart Chain
Follow the instructions slightly above and click the "Add Network" button. In the popup window, enter the following data:
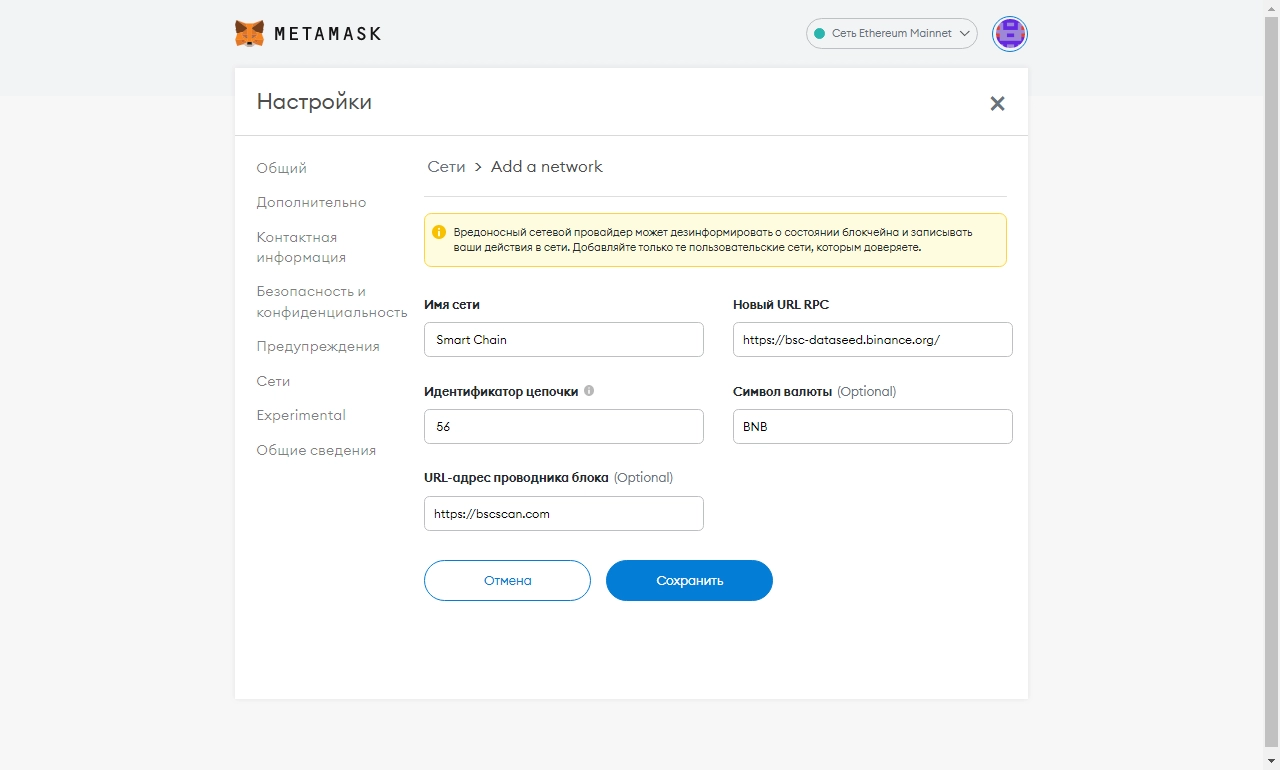
Simply copy the following Binance Metamask data:
- Network Name: Smart Chain;
- New RPC URL: https://bsc-dataseed.binance.org;
- ChainID: 56;
- Symbol: BNB;
- Block Explorer URL: https://bscscan.com.
Click Save. Done! The Binance coin BNB is now available, along with many others. Now, Metamask supports the BEP-20 standard on your computer or smartphone. Other networks can be added in a similar way. Let's look at how to configure some networks.
Polygon Metamask — Adding Polygon Mainnet to Your Wallet
To add the Polygon network and use the MATIC token in Metamask, enter the following data:
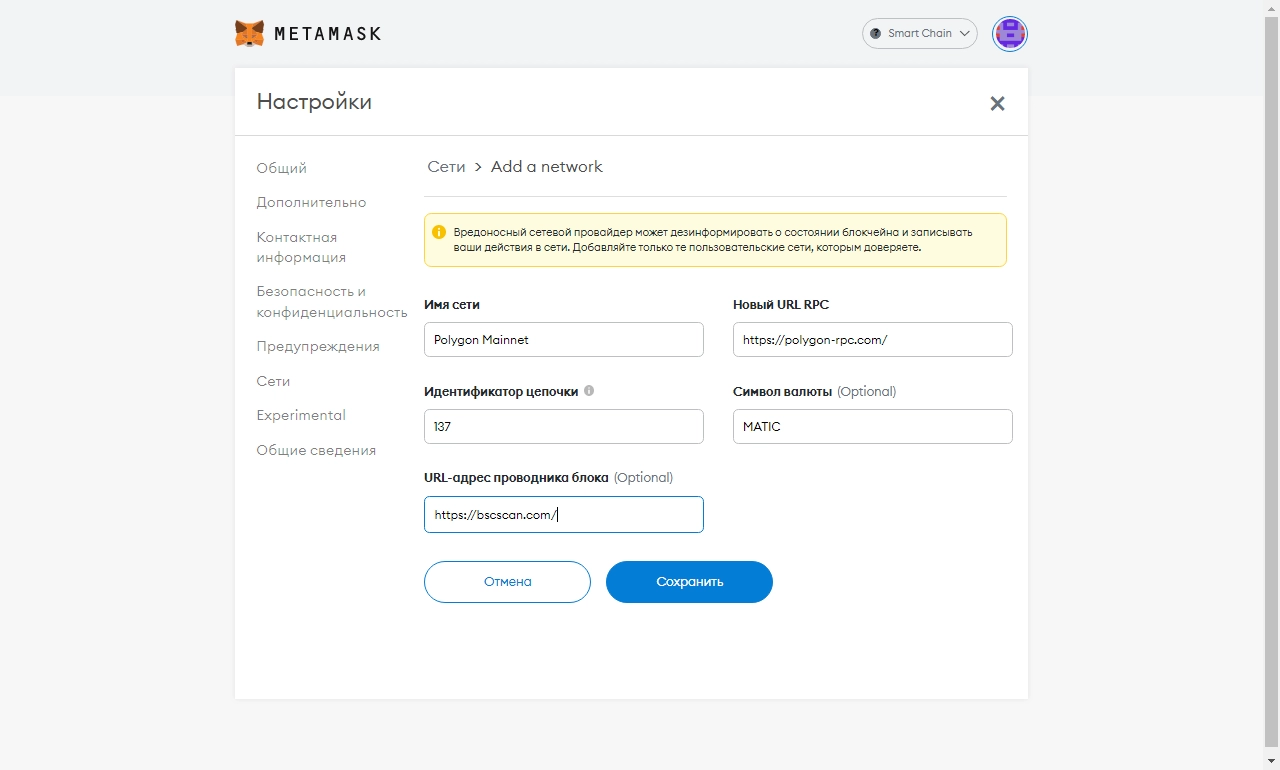
- Network Name: Polygon Mainnet;
- New RPC URL: https://polygon-rpc.com;
- ChainID: 137;
- Symbol: MATIC;
- Block Explorer URL: https://bscscan.com.
Solana Metamask — How to Connect to This Network?
Metamask USDT — How to Add a New Token?
Earlier, we covered adding new networks to the Metamask wallet. Now, let's see how to add new tokens. On the main wallet page, at the bottom, find the "import tokens" link, click on it, and a new window will open.
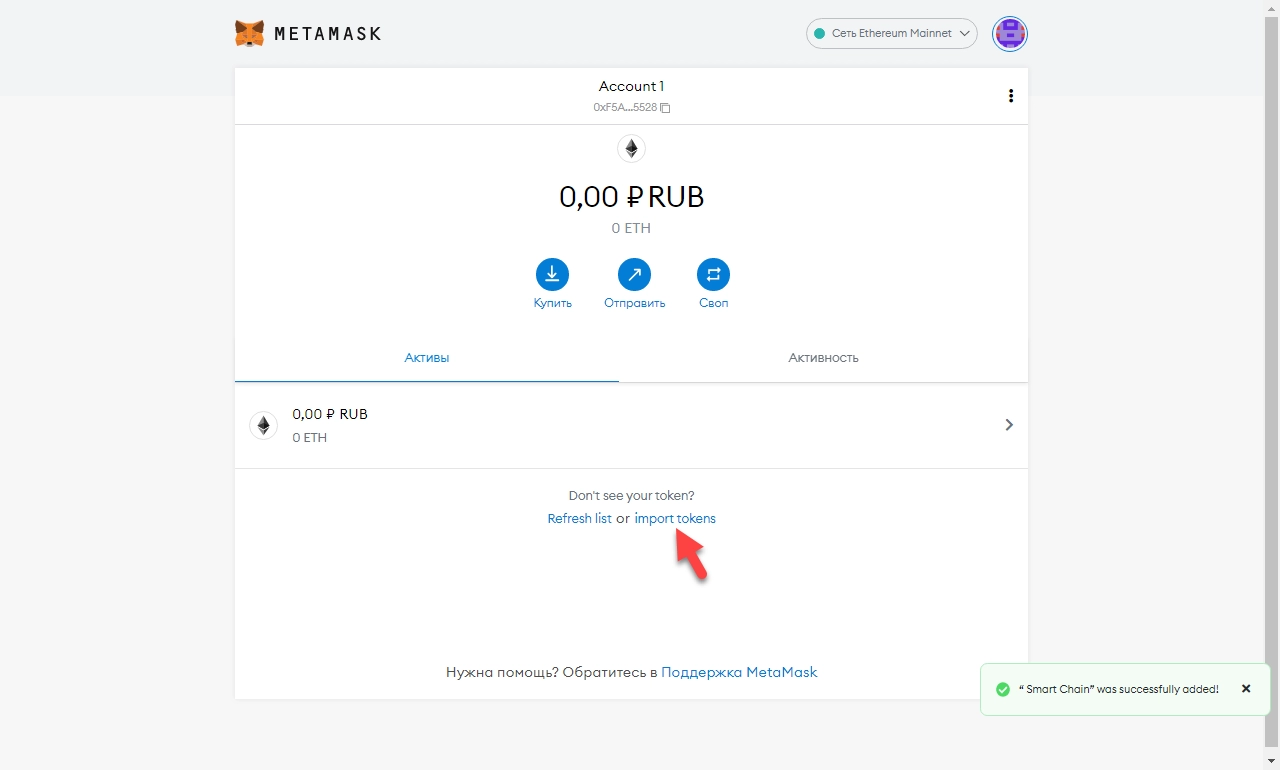
Open the "Custom Token" tab and enter the contract address of the USDT token: 0xdac17f958d2ee523a2206206994597c13d831ec7. The rest of the data will be automatically filled in if the address is correct. In this way, you can add almost any token. The adjacent "search" tab contains a lot of coins that have already been added, so before adding, you can search for the coin, perhaps it's already on the list. Typing Tether will allow you to add USDT much faster.
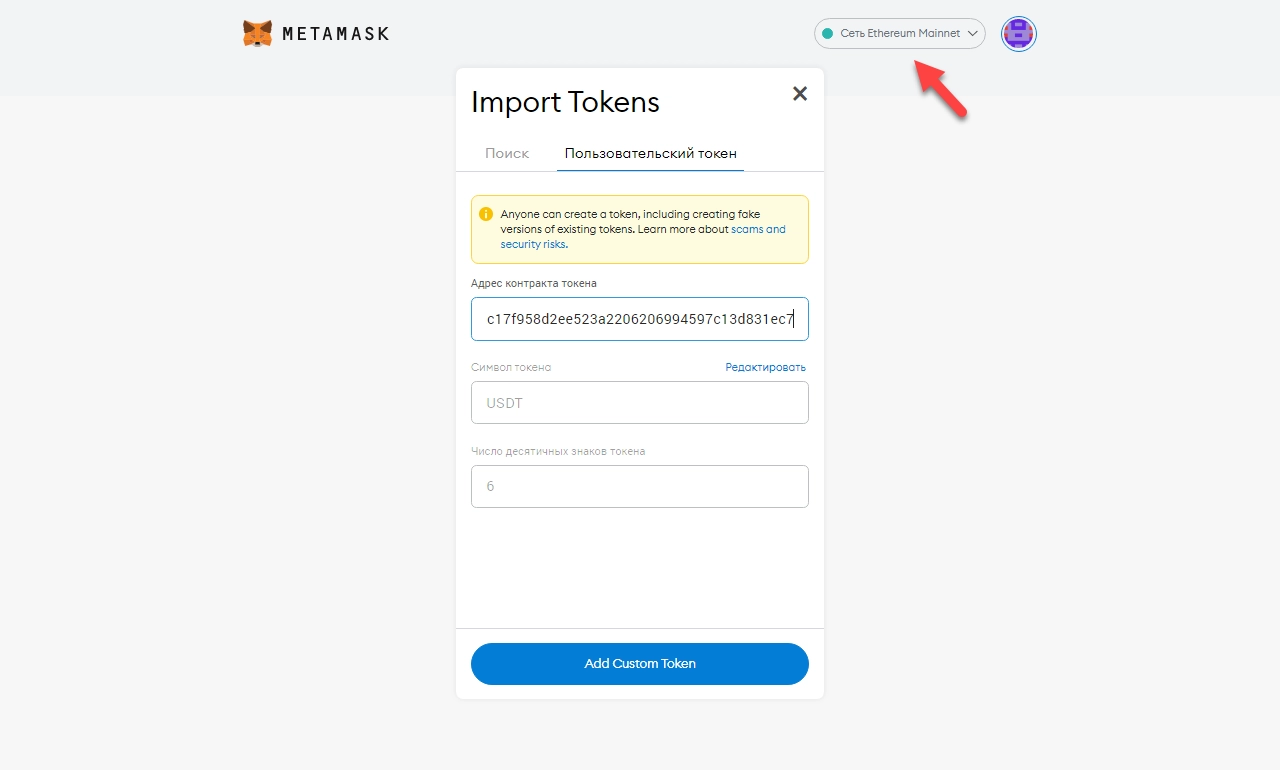
Make sure to check that the necessary network is activated in the upper right corner. The USDT token operates on the Ethereum mainnet.
How to Transfer Tokens to Metamask
Once you've familiarized yourself with the app's functionality, added the necessary networks and tokens, it's time to make your first transaction. The process of receiving coins involves the following steps:
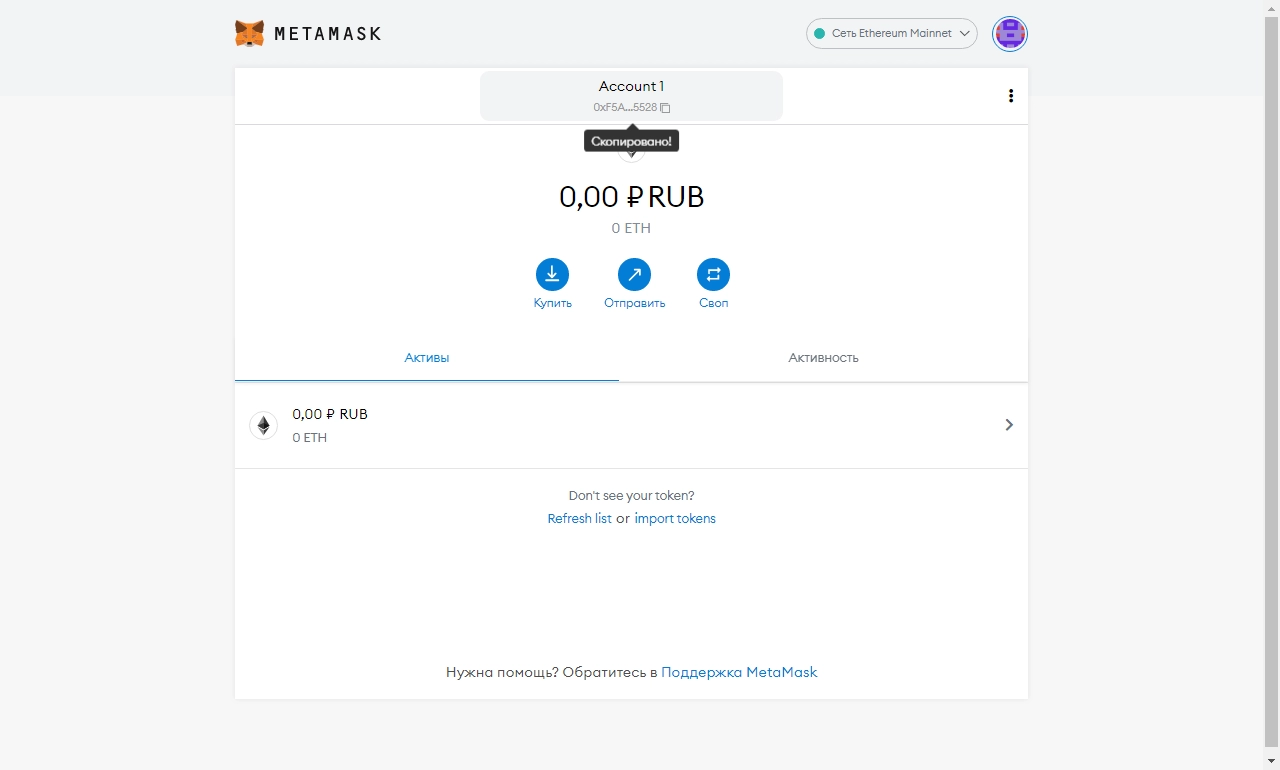
- Copy the wallet address at the top of the window;
- Pass it on to the sender or use it, for example, on your exchange account;
- Double-check the network in which the transfer will be made.
After some time, your balance will be replenished.
How to Withdraw Tokens from Metamask Wallet?
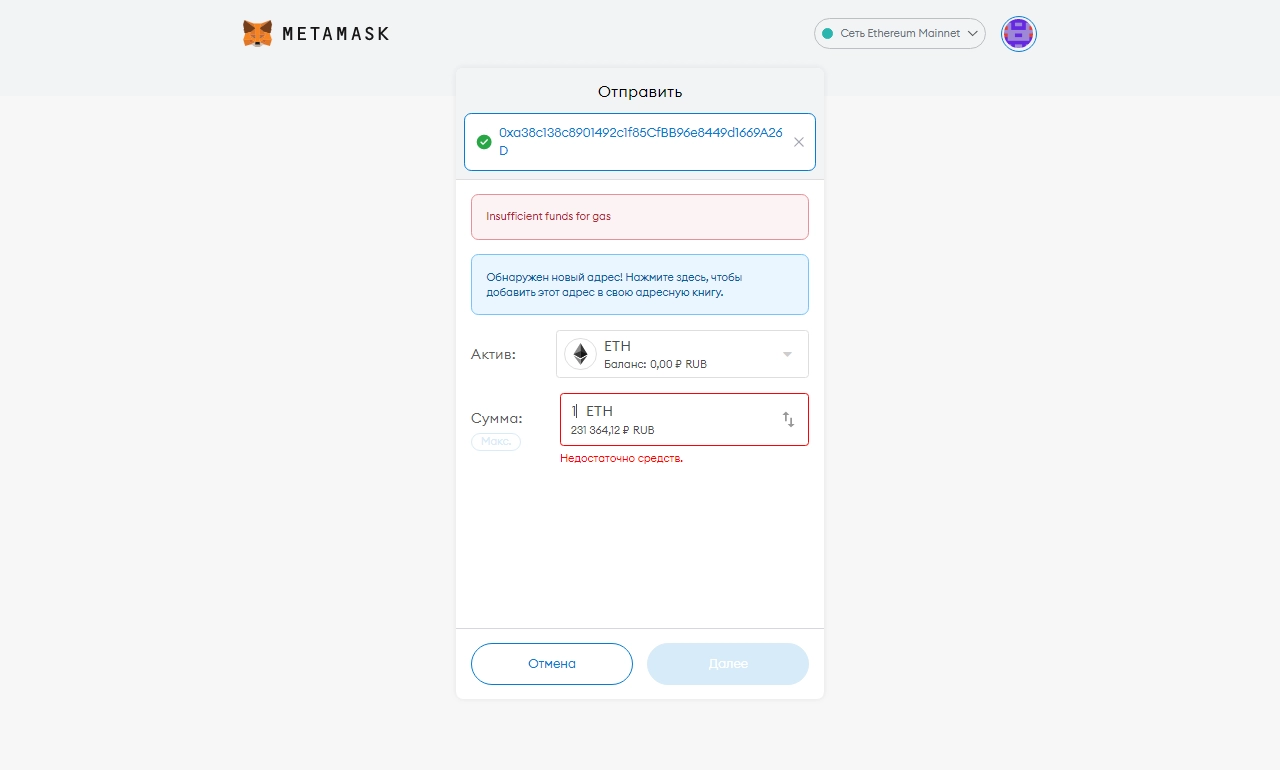
Transferring is another basic action. With just a few clicks, you can send funds to another participant in the network. On the main wallet page, click on "Send."
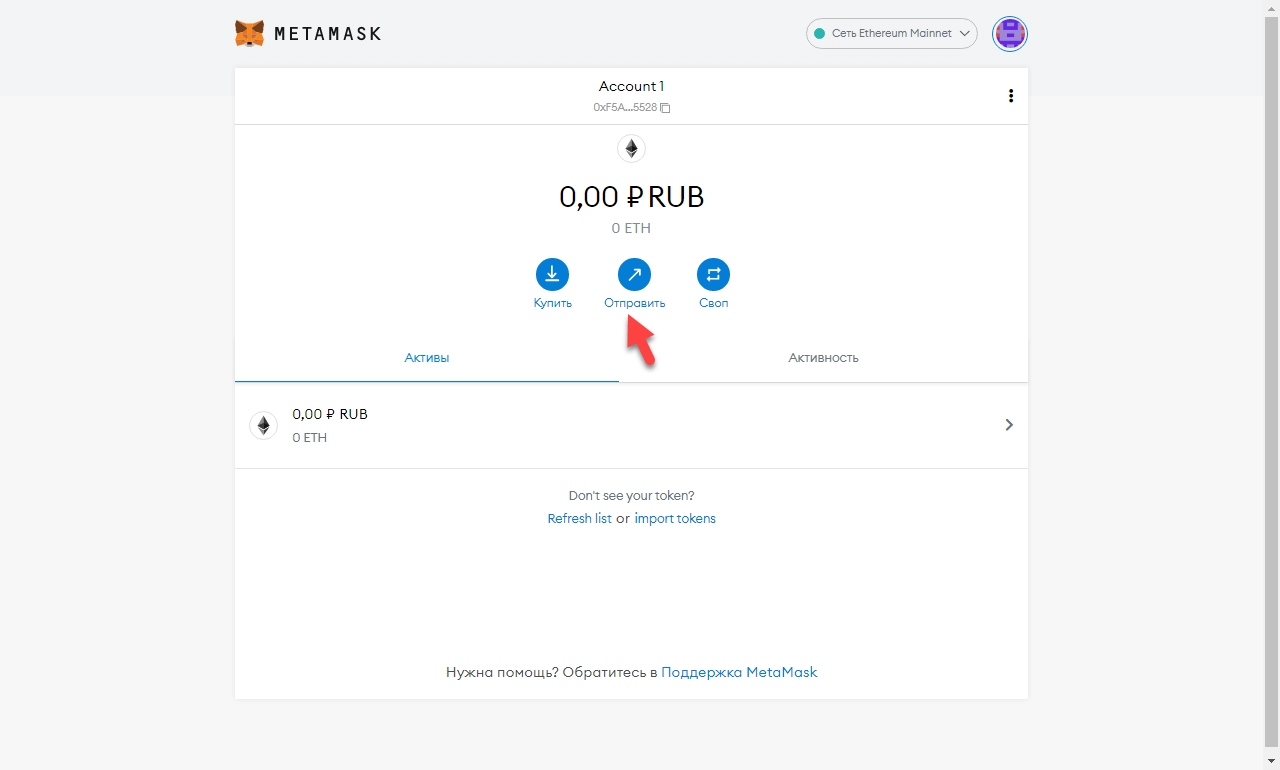
In the popup window, in the first line, enter the recipient's address, then select the desired coin below and specify the amount you want to transfer. Click "Next." In the next window, make sure the gas fee and the transfer amount suit you, then click "Confirm."